Help Signals
Help signals provide a structured way for students to request assistance when they struggle to verbalize their needs. By using visual or physical cues, students can develop independence, self-advocacy, and frustration tolerance while reducing challenging behaviors.
When to Use:
- Help students who do not raise their hand or struggle with verbal requests
- Encourages self-advocacy to Provide a structured way for students to initiate interactions and gain independence
- Effective for students who get frustrated, shut down, or engage in problem behaviors when they need help
- Encourages participation from students who might otherwise sit quietly without alerting the teacher to a problem
- Can be implemented as a class-wide system for all students to streamline help-seeking in the classroom
How to Use:
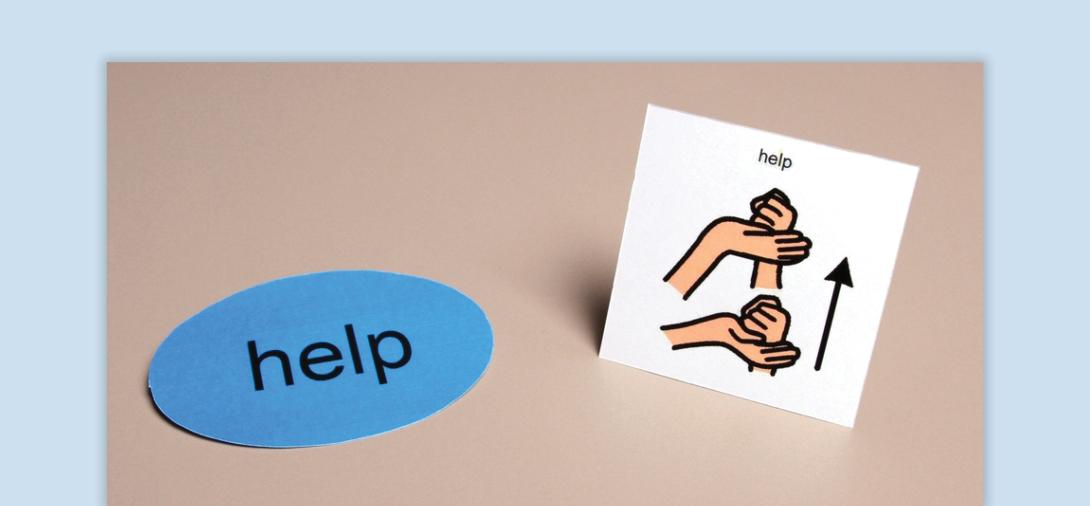
- Introduce the Help Signal - Show the student the help card or designated help signal. Explain to the student what a help signal is and why it is used. Use simple language, visuals, or demonstrations to illustrate when and how to use it, (This is your card. You can use it when you need help”).
- Provide Multiple Ways to Use the Help Signal
- Touching or pointing to the card
- Handing the card to the teacher
- Placing the card on a designated spot (e.g., token board, tape X on desk)
- Holding up the card or turning it over on their desk
- Set Up Structured Learning Opportunities
- Model how to use the Help signal in different situations.
- Create situations where the student will naturally need help.
- Guide the student to use the help signal.
- Immediately provide help.
- Reinforce and Encourage Use - Respond quickly and provide verbal praise and reinforcement when the student uses the help signal. (If needed, use preferred reinforcers (stickers, extra time, sensory tools) to strengthen behavior. Fade prompts as the student shows independence.
- Make Help Signals Readily Available - Keep help signals accessible to the student throughout the day. Encourage staff to recognize and reinforce the use of help signals consistently.
Tips:
- Immediate Response is Key - Reinforce the student every time they use the help signal to ensure they continue using it.
- Use Visual and Physical Prompts - If the student does not independently use the help signal, guide them by pointing or placing it near their hand.
- Pair Help Signals with Verbalization - Model saying “I need help” to promote eventual verbal or AAC use.
- Teach in Low-Stress Situations First - Introduce the signal before the student is frustrated to build success.
- Use with Students Who Exhibit Frustration-Based Behaviors - If a student yells, throws objects or gets upset, teach them that using the help signal results in faster assistance.
- Expand to Class Wide Use - If beneficial, integrate help signals into a whole-class management system.
Variations:
- Use AAC Devices for Help Requests - Program, “I need help,” as a quick-access button on the student’s device.
- Alternative Help Signals - Instead of a card, try:
- Placing a water bottle in a designated spot
- Tethering an object (ex. cup, token) to a desk for quick placement
- Picture-Based Help Requests - Use visuals for students who respond better to picture-based prompts.
- Emergency Help Signals - Use different signals for urgent vs. non-urgent help.
Related Content

Autism
Antecedent-Based Intervention
Learn how to modify the environment to decrease interfering behavior and increase engagement.
View Course

Autism
Visual Supports
Discover the power of visual supports for supporting students with ASD. Learn about implementation steps, skills, and resources to enhance independence.
View Course